Ezekiel Sourdough Bread
The name "Ezekiel bread" derives its roots from the biblical passage found in the book of Ezekiel in the Old Testament. This symbolic bread, also known as "Ezekiel 4:9 bread," has been an integral part of Jewish traditions for thousands of years. The recipe for this unique bread is inspired by the prophet Ezekiel's vision of creating a nourishing and sustaining meal during a time of hardship. Ezekiel bread offers a holistic blend of flavors and nutrients. Its rich history and spiritual significance have made it a cherished staple in Jewish cuisine, symbolizing sustenance, strength, and spiritual nourishment.
This Ezekiel bread contains stoneground sprouted grains: spelt, barley, millet, rye, whole wheat flour, lentil, pinto beans and other seeds It is a very healthy bread because the sprouted grains allow far more nutrients to be absorbed by the body instead of being lost through digestion. Nutrients such as vitamins, minerals, good plant based proteins, and amino acids are well absorbed into the body. The combination of grains and legumes in Ezekiel bread makes the protein available in this bread a “complete protein” meaning it contains all 9 essential amino acids that you must get from your diet. I buy the ezekiel flour from Arva Flour Mills located in Arva, Ontario, Canada.
I prefer sourdough breads as they are supporting a gut-healthy diet. The sourdough belongs to fermented foods. During the process of fermentation, good-for-you bacteria known as probiotics are formed. This sourdough bread has divine earthy taste that feeds your mind, body and soul.

Ezekiel Sourdough Bread
By Zosia Culinary Adventures | Date: May 12, 2023
Preparation Time for sourdough ferment: 4 days
Bread working + fermentation + baking total time= 20-22 hours
Baking Time: 15-20 minutes
Yield: 2 loaves (approximately 900g each)
Ingredients:
400g sourdough ferment
400g Ezekiel Flour from Arva Flour Mill or your local flour mill
200g strong bread white flour( GMO free) from local stone-grind mills is the best
100g spelt flour
100g rye flour
680g spring water or filtered water
20g sea salt
Essential bread baking tools:
Digital scale
Water spray bottle to mist the oven
Shallow pan for hot water steam
Mixing bowl
Linen made from flax plant or untreated cotton as baking cloth
Wooden peel
Plastic scarper
Danish whisk
Bread proofing baskets or wicker baskets lined with non-stick untreated linen or a banneton made from 100% natural unfinished rattan
Lame or sharp knife for slashing the tops of the bread before baking, also sharp scissors can replace the blade
Pizza stone
Cooling rack
Thick bath towel to protect your glass oven door from cracking when spraying oven before and after you put in your bread. This has happened to me, so be careful while misting your oven.
A pair of hands - this is an excellent work out for your hands and shoulders!
Instructions:
Combine all four flours in the bowl.
Tear the ferment into a small pieces and incorporate well with flours using your finger tips. Make all the ingredients come together as much as possible and looking as light as possible.
Add water to the mixture and with support of danish whisk mix everything together.
Leave dough for 30 minutes to rest. This will help the dough to self mix itself a bit and become less sticky for the next step. Cover it with baking cloth.
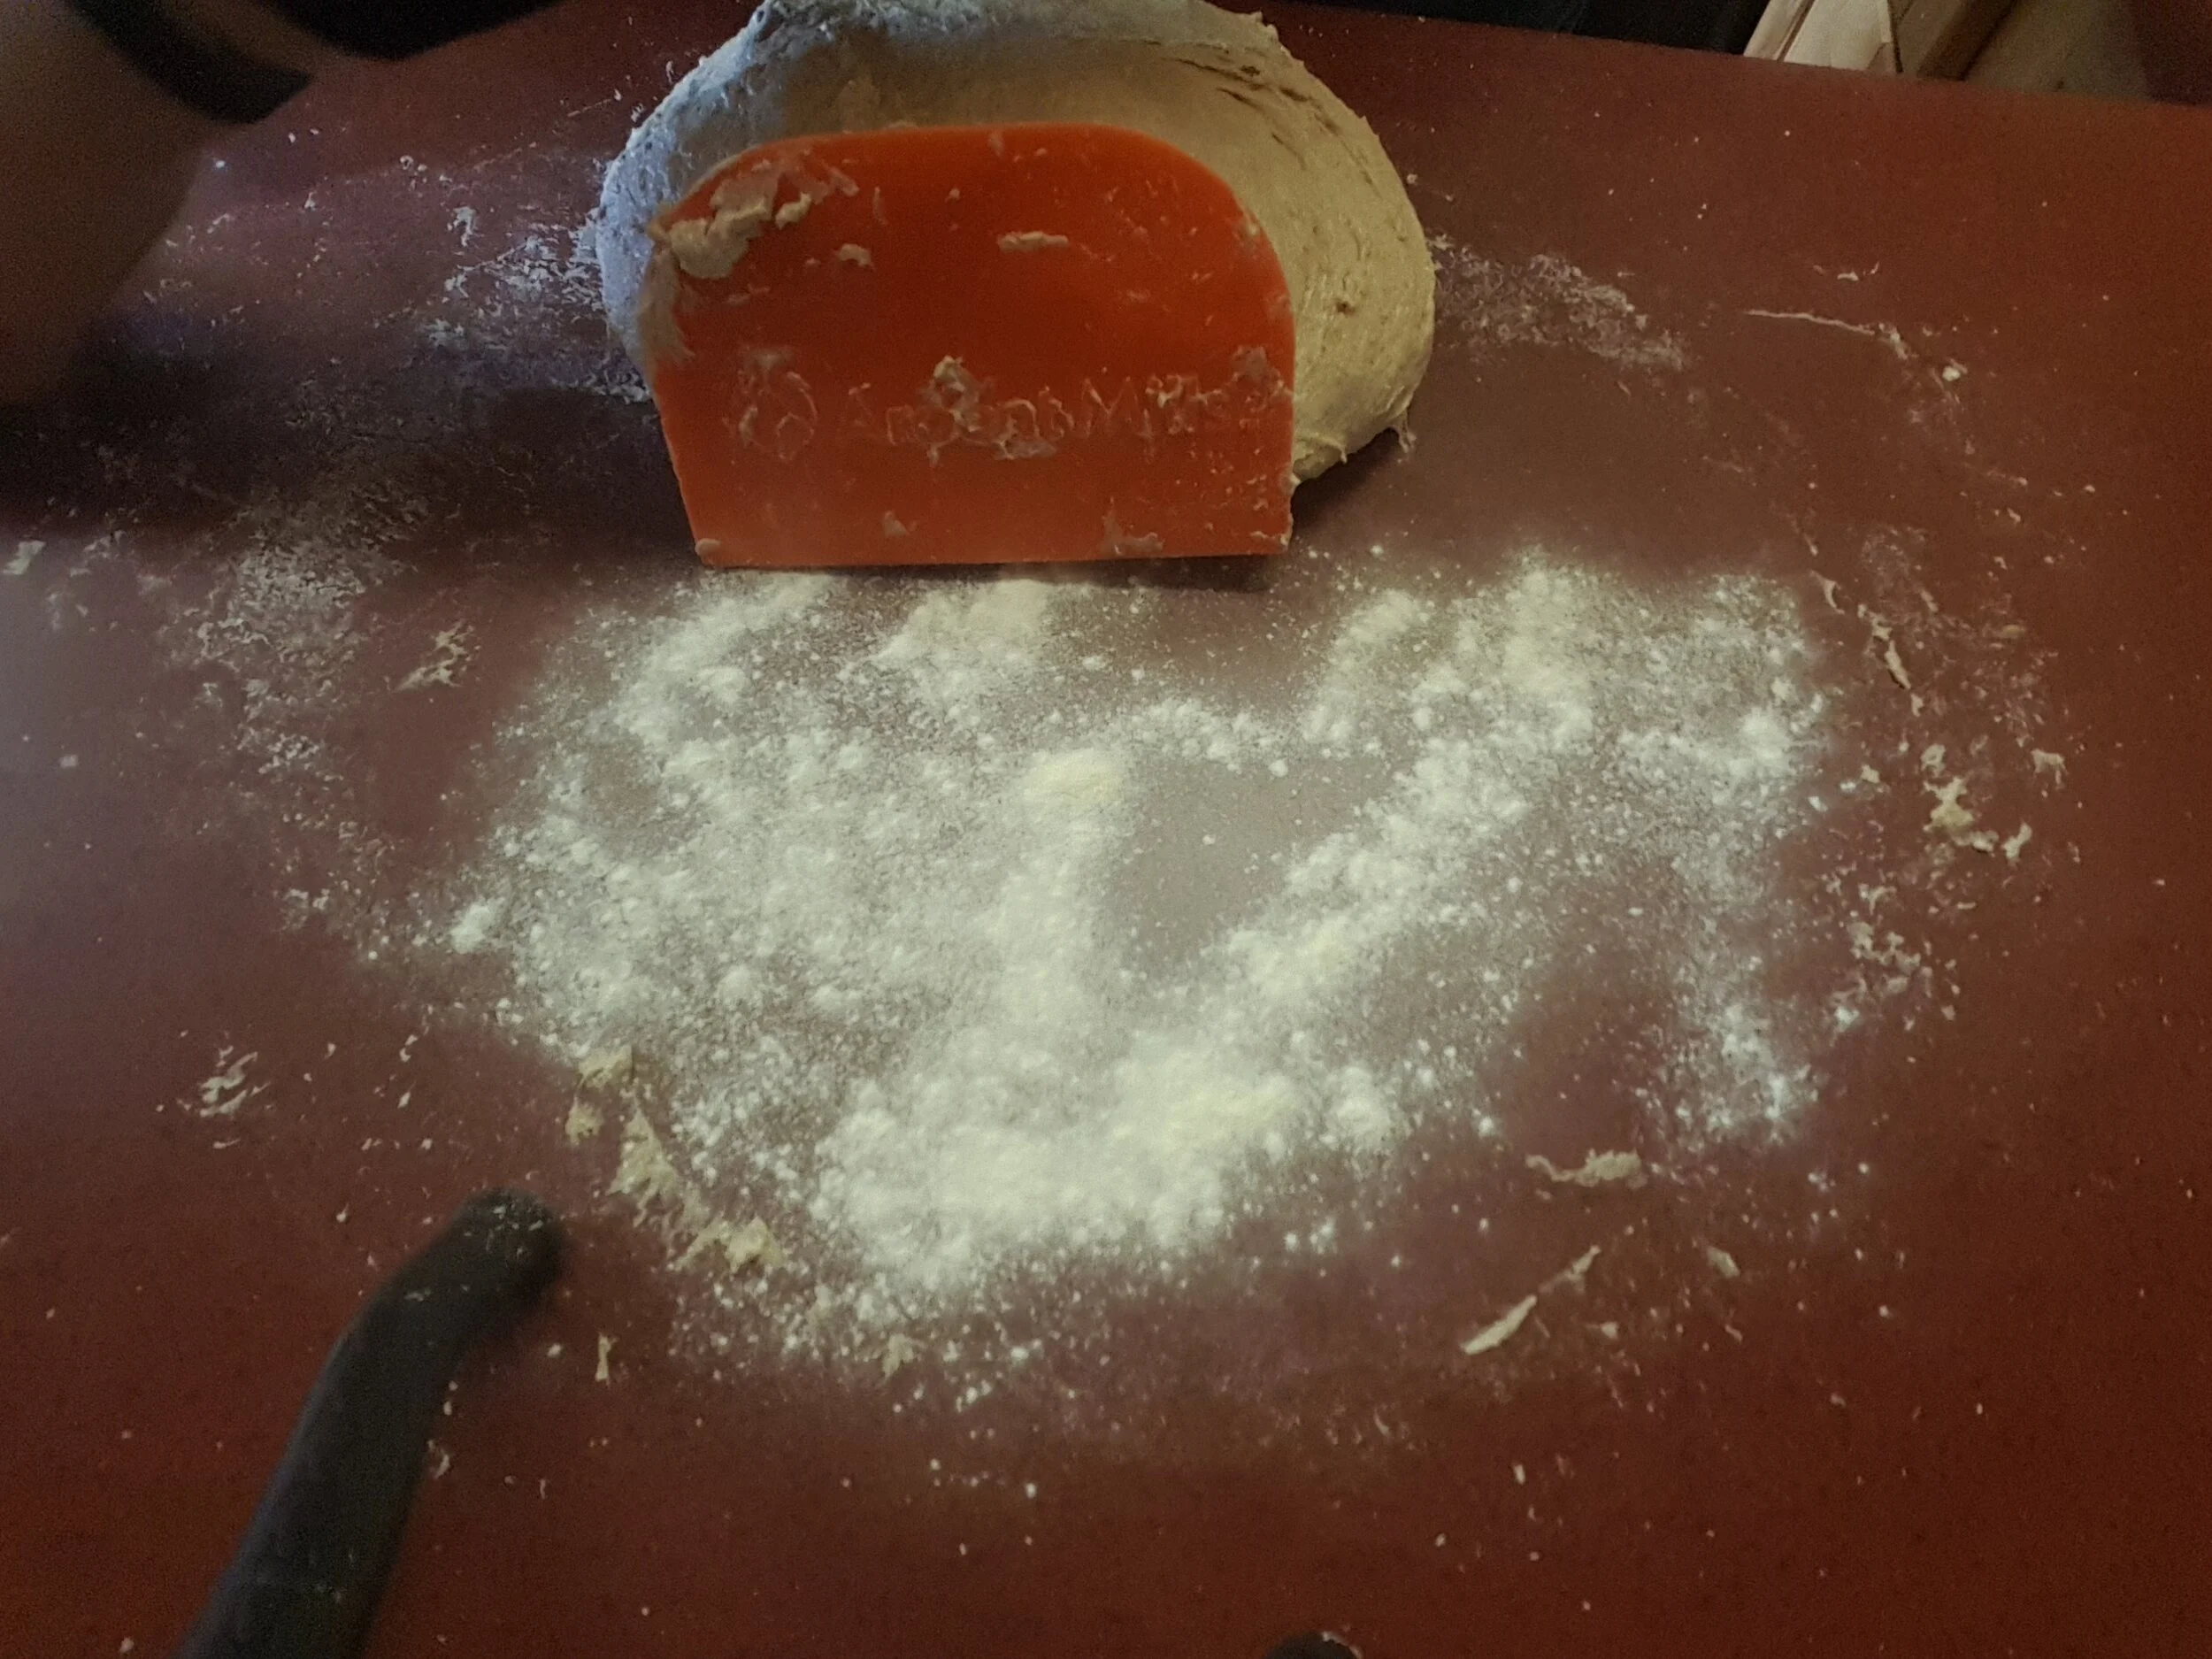
Scrape the dough onto an un-floured surface which will give a great traction for working the dough.
Using wet hands, grab one side of the dough to your left or right with both hands in a pincher type formation
Pick up the dough and slap the dough down onto the counter.
While still holding the dough, stretch it towards your body (the dough slapped to the counter should stick and anchor so the whole mass elongates)
Quickly fold the dough nearest your body in the air over the anchored section on the counter (it will fold up into a tight package). This work out should take about 10 minutes.
After 10 minutes, sprinkle the salt over the dough, fold it to ensure that all salt incorporated into the dough. Continue to work the dough until smooth and elastic, and no longer sticks to the surface.
Move the dough to the side and lightly flour the table.
Place your dough smooth-side down, and fold each corner into the center of the dough, pressing down with your fingers and turning into a ball.
Turn over the whole ball, stretch and tuck the edges underneath.
Flour your mixing bowl and place the dough inside to rest for 1 hour. Cover with baking cloth. Keep it in warm place 22-25°C.
Folding process or punching down dough 1st time : Lightly flour the table and turn out the dough with help of scraper. Flatten down the dough with your fingertips and then fold the outside edges. We are going to make 4 folds. To create the first fold, pick up one of the sides of the dough (on the right or the left) and fold it a third of the way over the rest of the dough. The second fold is like folding a letter. Pick up the opposite side of the dough that you folded and stretch it over the first fold, laying it on top. To make the third fold, grab the top edge of the rectangle (the side farthest from you) and pull in toward you, folding it one-third of the way. The final fold, fold the piece of dough closest to you (the bottom edge) over the other folds which will now create a square. This process of punching down dough is applicable to all bread making adventures. Once you master this technique, you will be able to use for all bread recipes.
Fold each corner into the center of the square dough, pressing down with your fingers and turning into a ball. Turn over the whole ball, stretch and tuck the edges underneath.
Flour your mixing bowl and place the dough inside to rest for 1 hour. Cover with baking cloth. Keep it in warm place 22-25°C.
Folding process or punching down dough 2nd time : Lightly flour the table and turn out the dough with help of scraper. Flatten down the dough with your fingertips and then fold the outside edges. We are going to make 4 folds. To create the first fold, pick up one of the sides of the dough (on the right or the left) and fold it a third of the way over the rest of the dough. The second fold is like folding a letter. Pick up the opposite side of the dough that you folded and stretch it over the first fold, laying it on top. To make the third fold, grab the top edge of the rectangle (the side farthest from you) and pull in toward you, folding it one-third of the way. The final fold, fold the piece of dough closest to you (the bottom edge) over the other folds which will now create a square.
Fold each corner into the center of the square dough, pressing down with your fingers and turning into a ball. Turn over the whole ball, stretch and tuck the edges underneath.
Flour your mixing bowl and place the dough inside to rest for 1 hour. Cover with baking cloth. Keep it in warm place 22-25°C.
Lightly flour your working table. Turn the dough out with help of scraper and divide into two equal pieces ( app. 900g each)
Punch down each dough and form into a ball
Dust bread proofing cloth-lined baskets with spelt flour so the dough won’t stick to the basket. Place each ball of dough seam side up. The smooth side of the dough will be on the bottom of the basket for proofing so make sure there is enough flour. The bottom of the dough will become top of your bread when you baking. Cover each basket with baking cloth. Use double cover to ensure the bread dough is not drying but has a good a chance to breath. Do not use plastic bags!
Let the dough rise for 16-18 hours in the cooler place at 17-18°C( no higher). I use my basement but everyone might have their own place.
At least two hours before baking, place pizza stone on the second lowest rack and preheat oven to 250°C or 500° F. The lowest rack will be used for a shallow pan half full of HOT water just before baking of your bread.
After 18 hours, dough should have doubles in size and should be spring to the touch, leave it a bit longer if it is not,
Sprinkle a bit of course grind cornmeal on the top of each dough in the basket to prevent the dough from sticking when placed on the pizza peel. Also, apply some more cornmeal on the pizza peel.
Turn out the dough onto the pizza peel, making sure the bottom of the dough is now the top of the bread.
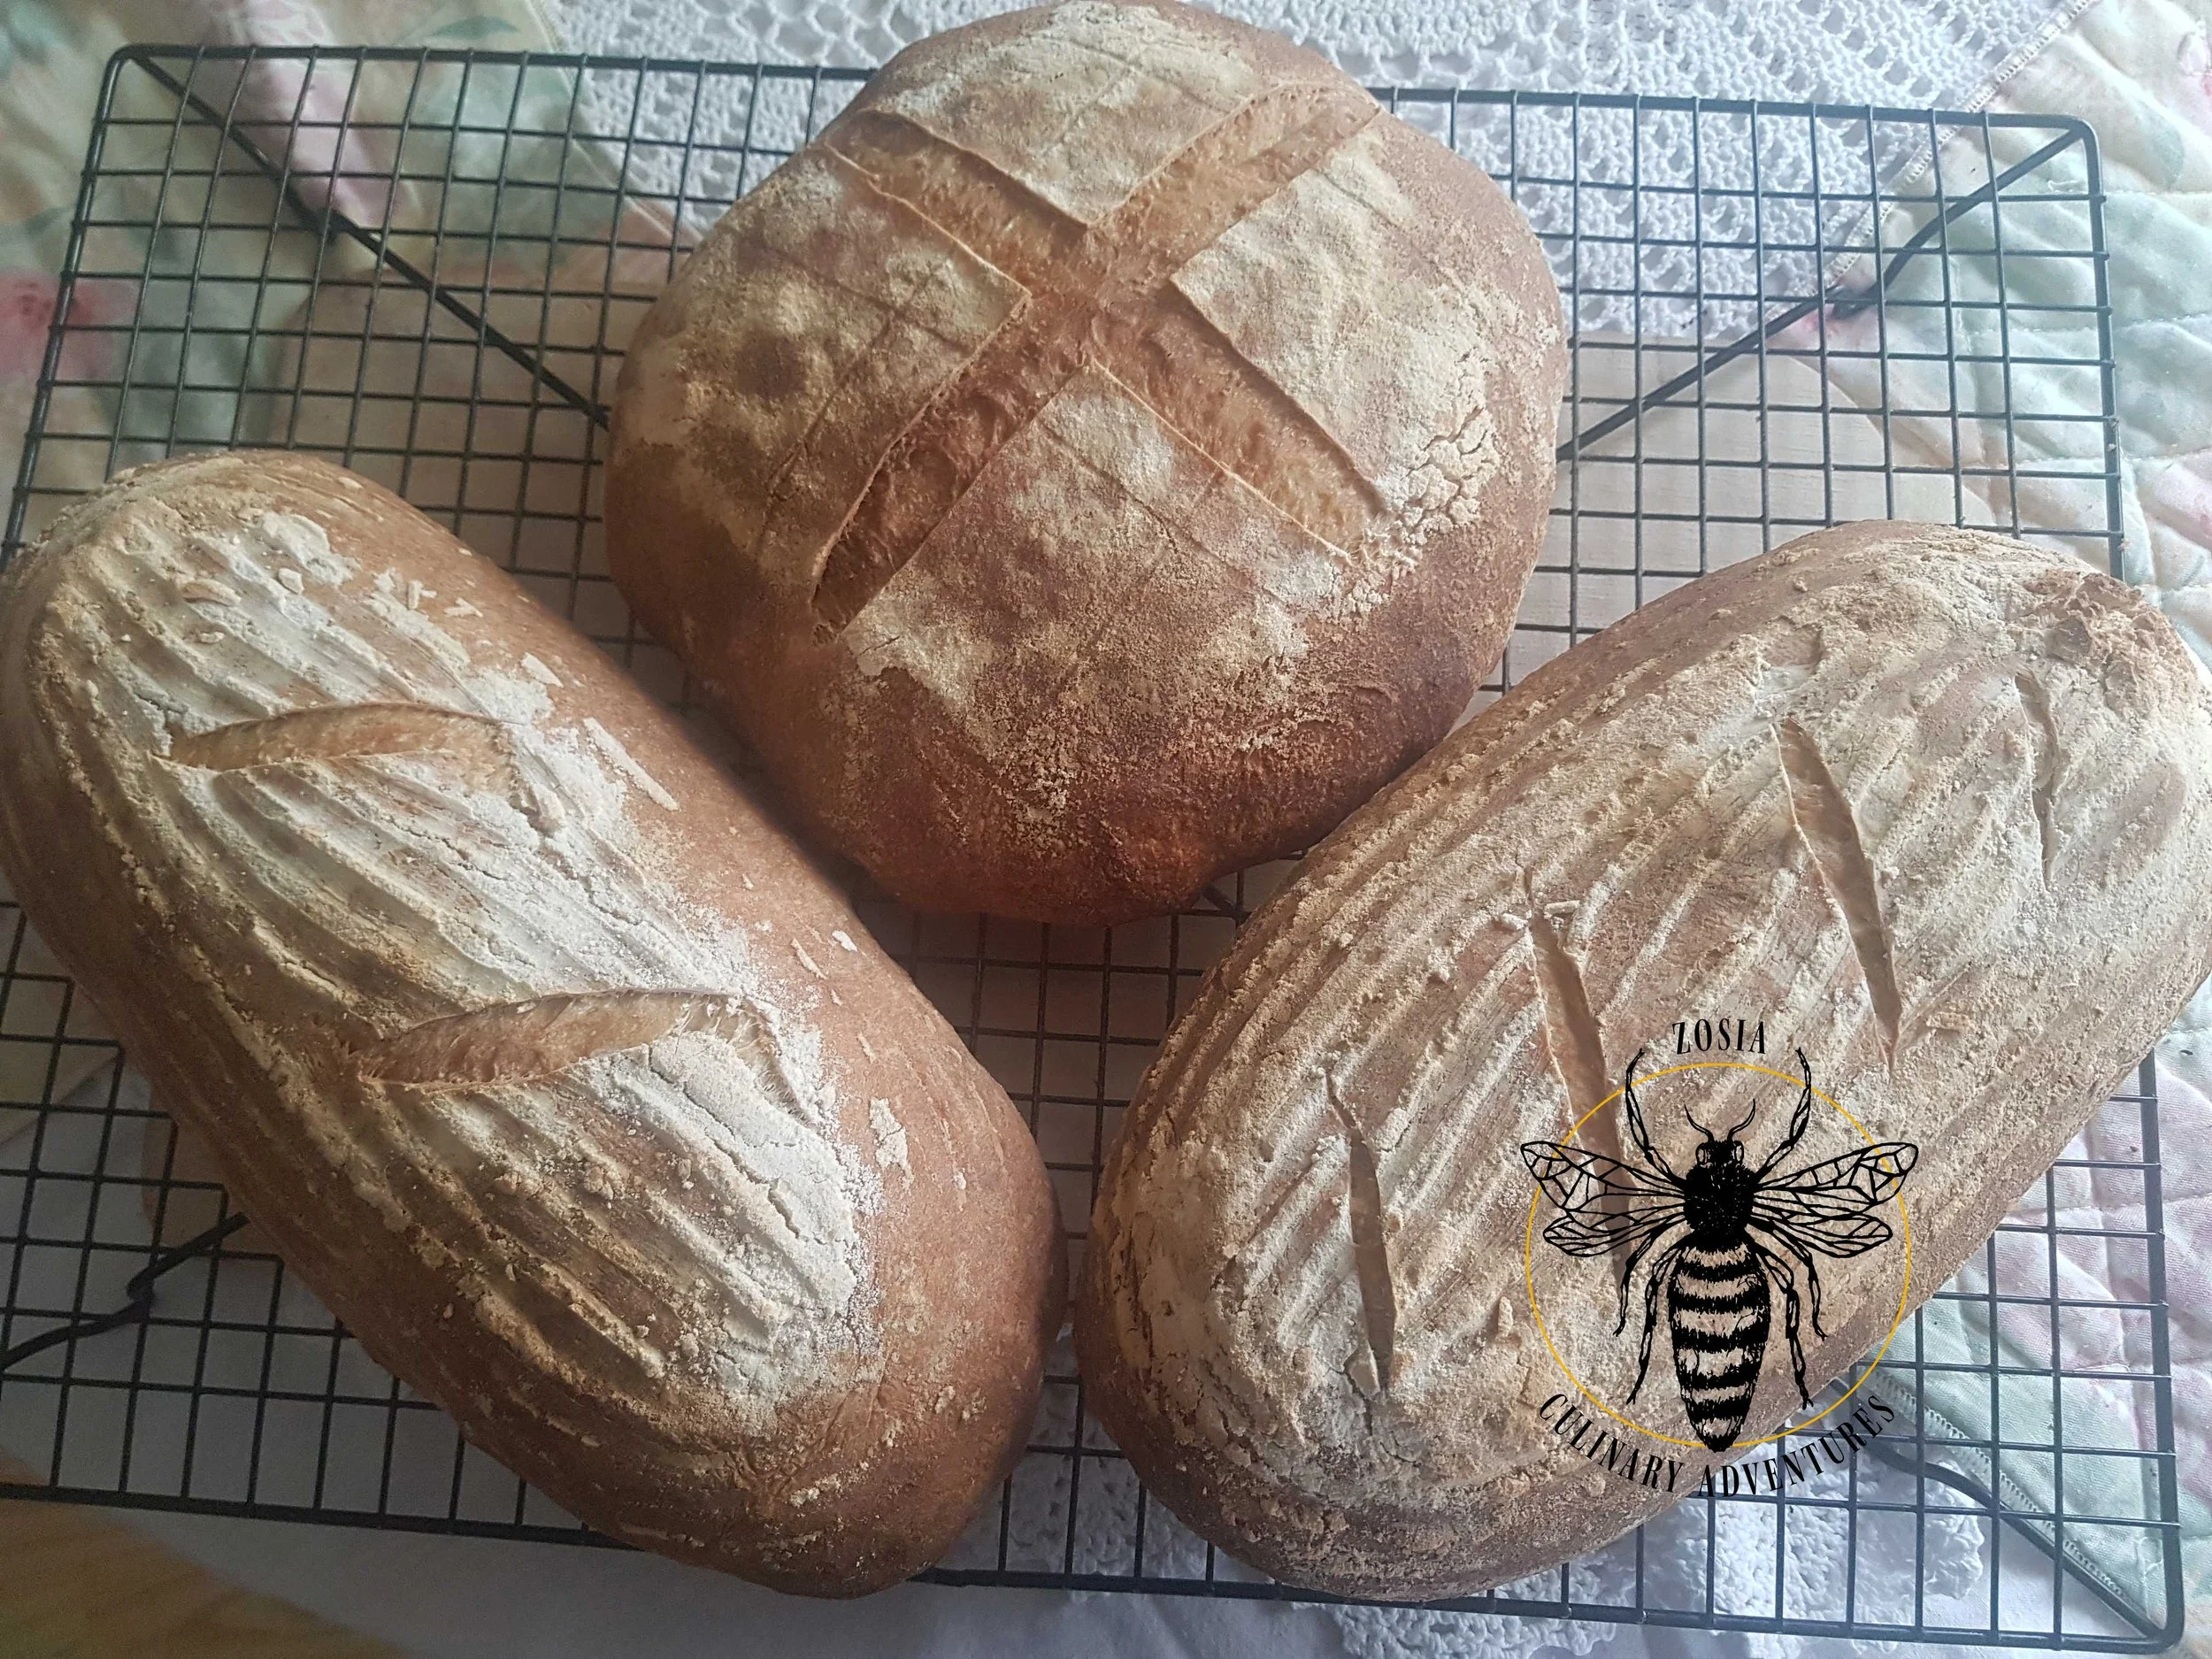
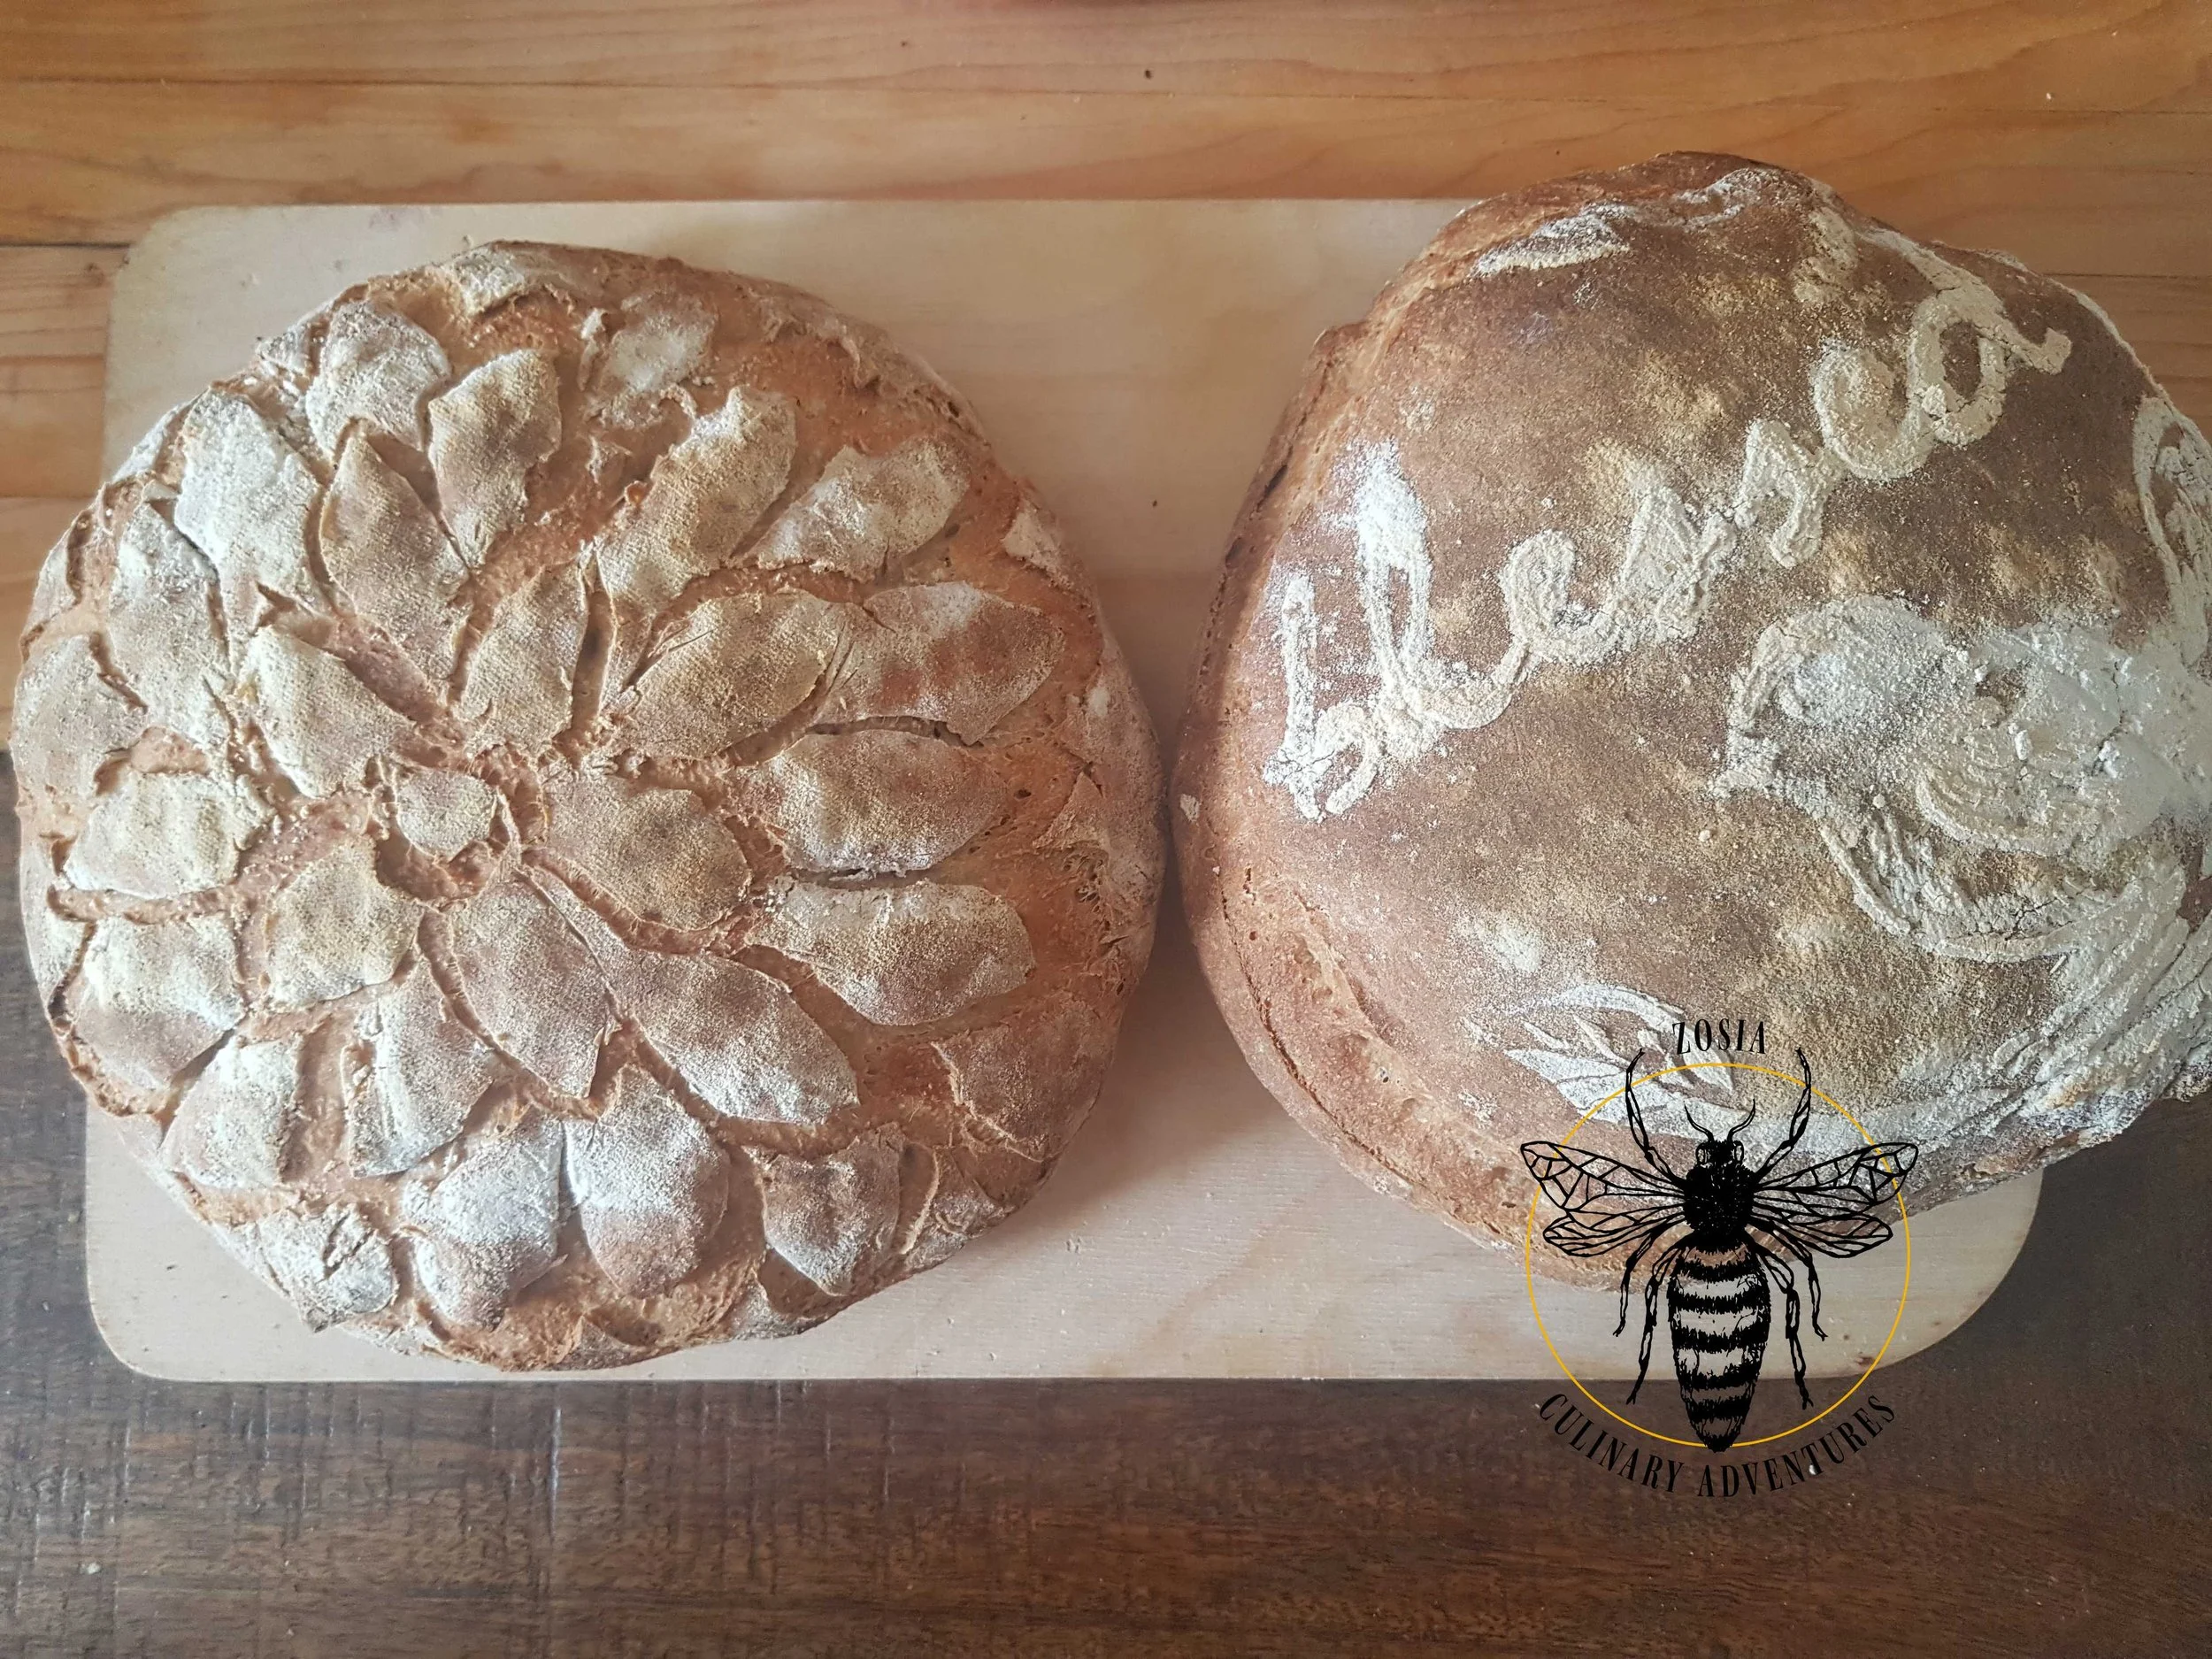
Slash the top of each loaf with lame or sharp blade. Design is up to you: names, cross, circles , checkers etc. You can also use stencils to mark the design onto the bread surface by dusting with white flour, cabernet grape flour from Niagara region, cacao or tumeric. Use your imagination.
Before you open the oven, make sure you have a bath towel and a shallow pan filled with hot water(only half full), bread ready for baking on the pizza peel, water spray bottle and good oven gloves protecting your hands (glove-like design that’s covered in small silicone grips, the ‘Ove’ Glove fits like a tight glove making it easier to get a firm grip on heavy cookware and piping hot dishes without worrying they’ll slip out of your hands.)
Open the oven, cover the oven glass door with bath towel, place shallow pan with HOT water on the lowest rack. Remove the towel and close the door. Wait 15 minutes.
Open the oven, cover the oven glass door with bath towel, spray 3 times each corner of the oven with spray bottle, place bread on the top of the pizza stone and quickly spread again 3 times each corner of the oven. Remove towel and quickly close the door. I suggest you practise ahead of time so you do this as fast as possible and as safe as possible.
Bake bread for 5 minutes at 250°C or 500° F and after 5 minutes turn the temperature to 220°C or 460° F. Bake for another 20 minutes or until the bread is dark golden brown and the bottom and the bottom sounds hollow when you tap. You can also swap the bread around half way for even baking. I find my oven bakes this bread within 15 minutes.
Cool completely on a rack before slicing.
Store in the Linen bag that has been treated with bee wax as this will keep bread fresh longer or double cotton pillow cases. I also place my bread bag inside of the bread box.
Note: Each time you make your sourdough bread, you will discover how much more divine it becomes. It is absolutely the most flavorsome bread.
Enjoy It!

Working The Dough